Backsplash for New Countertops: What a Cedar Rapids Homeowner Should Know
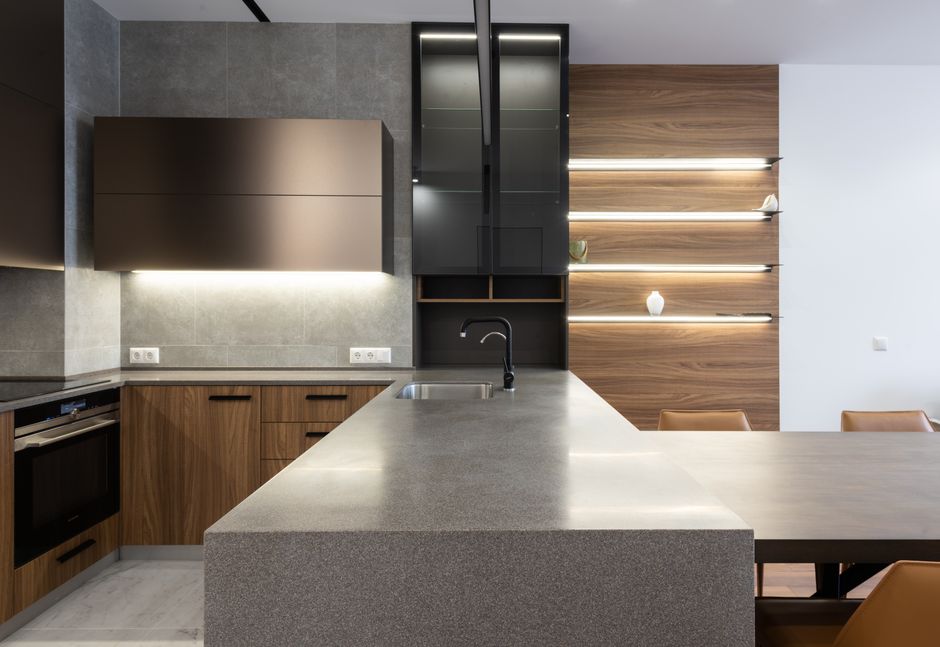
Decide the backsplash height before the countertop is templated, because that one choice changes how the fabricator lays out your slab. A short splash of about 4 inches is usually cut from the countertop material, while a full height splash runs about 18 inches from the counter to the underside of the upper cabinets. Everything else, from tile choice to grout color, can wait a little longer, but height cannot.
Settle Height Before the Template Visit
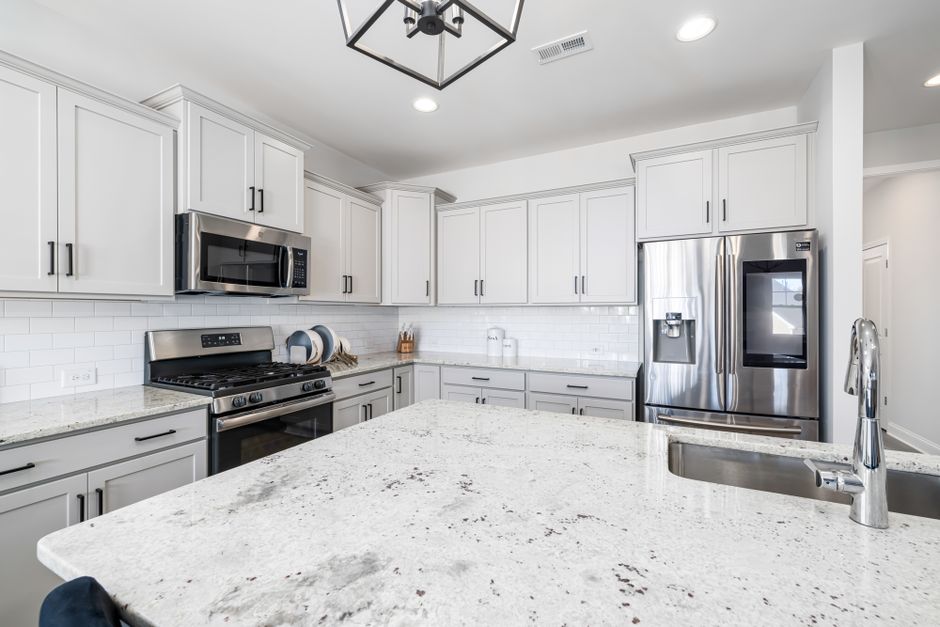
A matching short splash or a full height slab splash has to come out of the same slab as the countertop. If the fabricator does not plan for it at layout, there may not be enough matching material left over. Tell them what you want before templating, not after the countertop is cut.
Tile is more forgiving. If you plan to tile up to the cabinets, the countertop can carry a short splash or none at all, and the tile does the rest. Either way, the answer needs to be made early.
Full Height Slab Splashes
A full height splash in engineered stone or granite gives a continuous look with few or no grout lines. It also brings some demands:
- The slab is heavy.
- Outlet and switch cutouts must be precise.
- A seam may be needed on longer runs.
- The wall has to be flat so the slab sits tight.
Integral Coved Splashes
Solid surface material, such as Corian or Avonite, can be fabricated with a coved backsplash that curves up from the counter with no joint. It is very easy to clean. It scratches more easily than stone, but scratches can usually be sanded out and repaired.
Choose the Countertop First
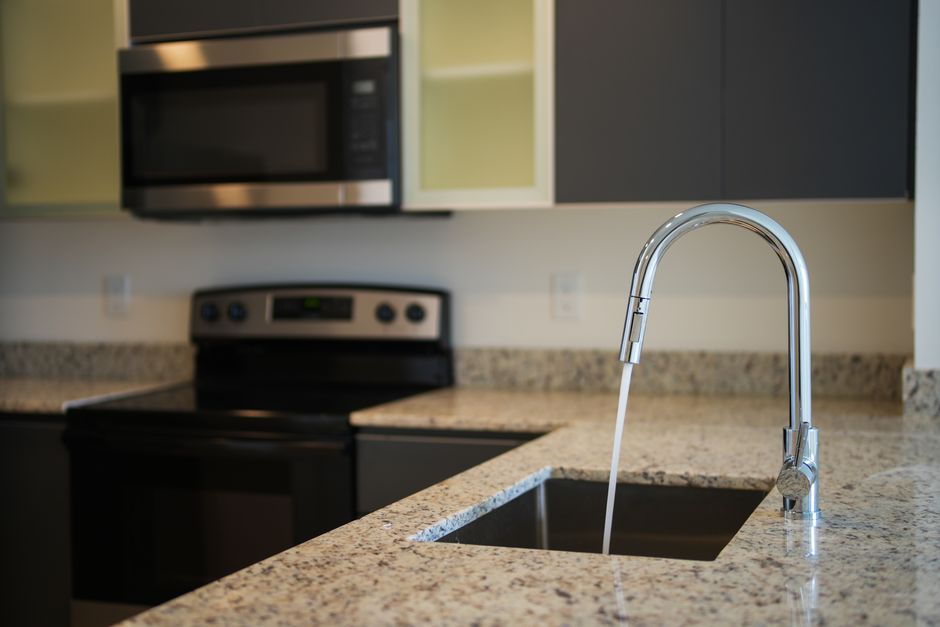
Pick the countertop first and treat the backsplash as the supporting piece. Natural stone varies from sample to sample, so look at your actual slab, or a large remnant from the same lot, before you commit to a tile color.
Then bring tile samples home and hold them upright against the countertop sample in your own kitchen. Check them in daylight and again under your evening lighting. A color that looks right flat on a counter can read very differently on a vertical wall, and warm or cool bulbs shift both surfaces.
Let One Surface Carry the Pattern
A heavily veined or speckled countertop usually pairs best with a calm, solid backsplash. A plain countertop can handle a bolder tile. Two busy surfaces side by side tend to compete.
Match Grout to the Counter
Grout close to the counter's background color makes the backsplash read as one surface. High contrast grout highlights every tile and every uneven joint, which is a risk if the wall is not perfectly flat. Choose grout for cleanability as well as color: epoxy and other stain resistant grouts hold up better in kitchens than standard cement grout, which stains from cooking splatter unless it is sealed and resealed.
Match the Material to the Spot
Not every backsplash material belongs in every location.
Behind the Range
Think about heat. Solid surface and laminate can scorch or discolor under high heat. Tile, natural stone, or stainless steel are safer behind a range. Follow the range and hood manufacturer's clearance instructions.
Natural Stone Tile
Marble, limestone, and travertine are porous and etch from acids such as citrus, vinegar, and tomato. Seal them at installation and reseal on the schedule the sealer label gives. Sealing slows staining but does not make stone immune, so be careful with these materials right behind the sink or coffee station.
Glass Tile
Glass is partly see-through, so the adhesive behind it shows. Use the white setting material the tile maker recommends and spread it evenly, with no trowel ridges visible. Near the sink, expect mineral spotting if your water is hard.
Wood and Butcher Block
Butcher block or another wood backsplash will expand and shrink with Iowa's humid summers and very dry heated winters. Seal every side, including the back, leave expansion room at the ends, and keep wood away from the area directly behind the sink and range.
Check the Wall Before You Buy Tile
The wall behind the backsplash decides what is realistic.
Older Plaster Walls
Many older Cedar Rapids homes, such as early 1900s houses in Wellington Heights and around Czech Village, have plaster walls that are out of plumb and wavy. Hold a long straightedge against the wall before choosing large format tile or a slab splash, because those show every dip. Small tile, or flattening the wall first, may be the better path.
Flood-Affected Areas
If your home sits in an area near the Cedar River that took on water in past floods, look inside the wall cavity while the old backsplash and cabinets are off. Check for water staining, mold, or soft drywall, and fix any of it before covering the wall with tile or stone.
Handle the Details Where Surfaces Meet
Small joints and edges cause most of the disappointment after a backsplash is done.
- The counter joint: Use a flexible sealant where the backsplash meets the countertop, not grout. The counter and wall move slightly with temperature and humidity, and grout at that inside corner almost always cracks and lets water in.
- Outlets and switches: A thicker backsplash pushes the wall surface out past existing boxes. Have an electrician add box extenders so devices sit flush and secure. Longer screws that float a device out from the box are not a fix.
- Where it stops: Plan the end points before you buy. Exposed side edges need a finished end, such as bullnose tile, a metal edge trim, or a polished stone edge. Common stopping points are the end of the countertop or the outside edge of the upper cabinets.
Engineered Stone and Silica Dust
Engineered stone, including quartz brands such as Cambria, contains a high level of crystalline silica (silicon dioxide). Cutting or grinding it dry releases fine dust that can cause silicosis. Cutouts and edge work belong with the fabricator, who can use wet cutting and dust control. Do not dry cut leftover pieces yourself, and do not assume a simple dust mask makes it safe.
Plan for Installation Day
The installation itself deserves a little planning.
Lighting and Lippage
Under-cabinet lighting shines across tile at a low angle and exaggerates lippage, where one tile edge sits higher than its neighbor. Ask the installer to use a tile leveling system and to check for lippage with the lights on.
Protect the New Counters
Cover the countertop with cardboard or a heavy drop cloth. Installers should not cut tile or set tools directly on stone or solid surface, which can chip or scratch.
Cedar Rapids Winter Timing
Tile adhesive, grout, and sealants need a warm room while they cure. If tile and setting materials have been stored in a cold garage, bring them indoors a day or more ahead so they reach room temperature.
Order Extra
Buy enough tile to cover cuts plus a few spares, and keep a box after the job. Color varies between production lots, and matching a cracked tile later can be difficult.
Ask About Leftovers
Slab offcuts from your countertop can sometimes be used for window sills or a small splash on a kitchen island. Ask the fabricator to save usable remnants before they are discarded.