Countertops in Cedar Rapids, IA
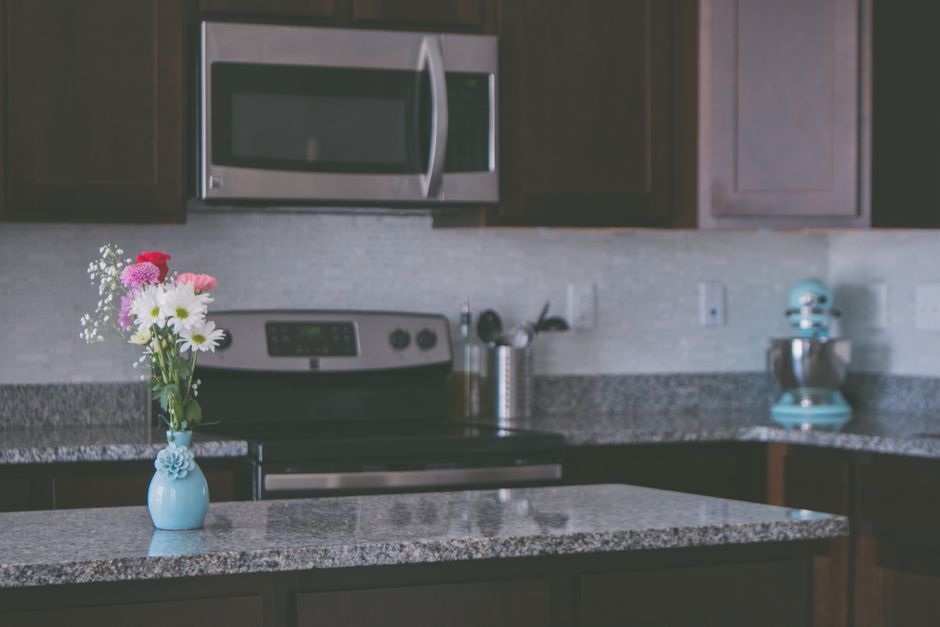
A plain guide to countertops in Cedar Rapids, IA, covering prep, materials, install day, winter timing, common problems, and how to judge a fabricator, written for homeowners from Czech Village to the Cedar River.
What We Cover
- Which Countertop Material Fits How I Cook How quartz, granite, marble, solid surface, laminate, and butcher block differ in heat, stain, and scratch behavior.
- Why Is My Countertop Cracking, Staining, or Spotting The usual causes of cracks, stains, chips, seam gaps, and hard water spots, and which ones are repairable.
- How Do I Choose a Countertop Fabricator Questions to ask about slabs, seams, support, and written terms so you can compare fabricators fairly.
- Can Countertops Be Installed in Cold Weather How Cedar Rapids winters affect slab handling, adhesive cure, and scheduling, and what helps an install go smoothly.
- How Do I Prepare My Kitchen for New Countertops What to clear, disconnect, and check before templating, including leveling cabinets in older homes with settled floors.
- What Happens During Countertop Installation A step by step look at templating, fabrication, seams, sink mounting, and cure time so you know what to expect.
Countertops in Cedar Rapids, IA
Countertops in Cedar Rapids have to handle a hard climate and a lot of older houses. Winters are cold and the furnace runs dry, summers are humid near the Cedar River, and that swing moves wood cabinets, adhesives, and seams more than most people expect. A good countertop job starts with reading those conditions before any slab is cut.
This site explains how the work goes from the crew's side, in plain mechanical terms, for homeowners across Linn County.
Older Houses and Out of Level Cabinets
Older homes are the norm in neighborhoods around Czech Village and near Brucemore, and settled floors are common in them. A floor that has dropped over decades pulls base cabinets out of level, and a countertop does not forgive that. Stone and solid surfaces need a flat, supported base, so the crew checks the run with a long level, then shims or resets cabinets before templating.
Walls are rarely straight either. Expect scribing along the backsplash line and extra attention at corners, where a gap can open if the cabinet frame is twisted.
Humidity, Dry Heat, and Seasonal Movement
Seasonal movement is real in this region. Humid summer air near the Cedar River swells wood and particleboard cabinet boxes, and dry winter heat shrinks them again. Seams, sealant joints, and sink cutouts take that stress. Proper support at the sink and dishwasher, flexible sealant at the wall, and seams placed away from weak spots all help a top stay tight through the year.
Cold weather also affects the job itself. Adhesives and sealants cure best in a heated room, and slabs need to be brought in and handled with care when it is freezing outside.
Hard Water and Surface Care
Hard water is common in some Linn County homes, especially those on private wells. It leaves white mineral rings around faucets and sinks, dulls glossy finishes, and can spot darker surfaces. Wiping standing water, using a cleaner suited to the material, and keeping sealed surfaces sealed will do more than any harsh scrubbing.
Material choice matters here. Porous stone drinks in water and stains sooner, while denser surfaces shrug off more of it.
Guides
The guides on this site cover preparing a kitchen for new countertops, matching a material to how you cook, what happens during installation, whether cold weather is a problem, why a top cracks, stains, or spots, and how to choose a fabricator.
Latest Guides
Backsplash for New Countertops: What a Cedar Rapids Homeowner Should Know
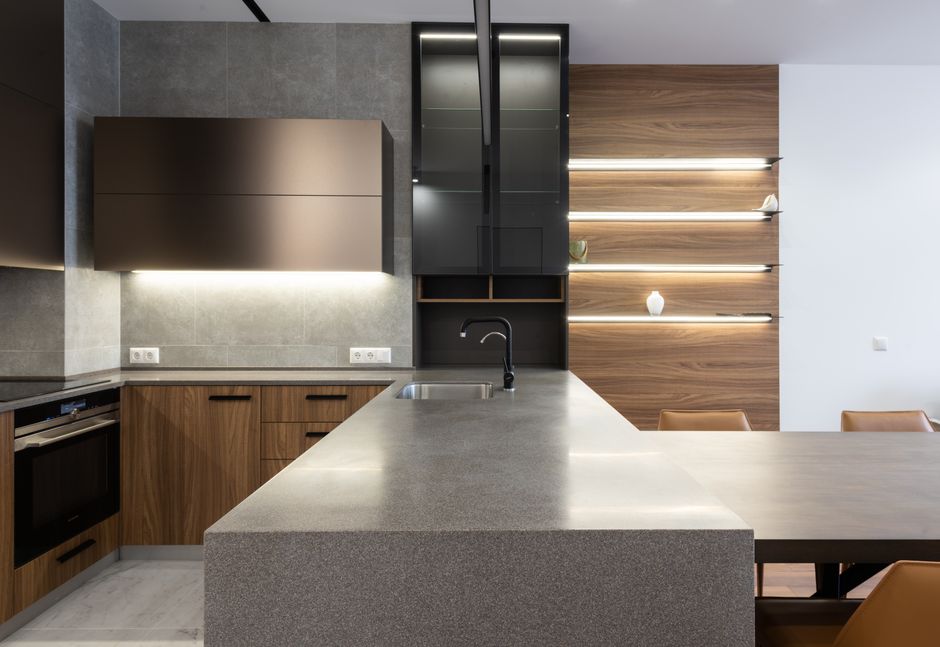
Decide the backsplash height before the countertop is templated, because that one choice changes how the fabricator lays out your slab. A short splash of about 4 inches is usually cut from the countertop material, while a full height splash runs about 18 inches from the counter to the underside of the upper cabinets. Everything else, from tile choice to grout color, can wait a little longer, but height cannot.
Settle Height Before the Template Visit
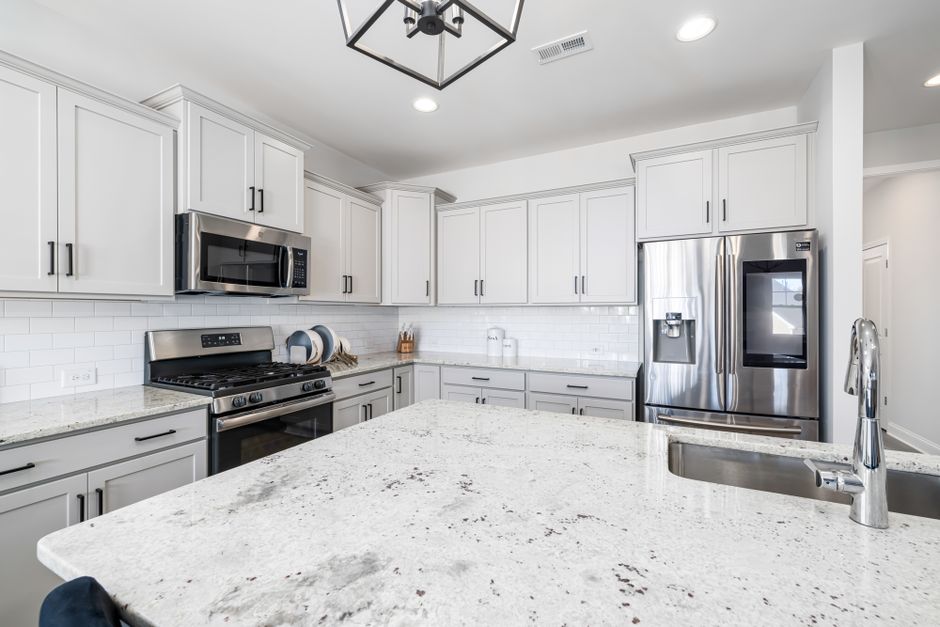
A matching short splash or a full height slab splash has to come out of the same slab as the countertop. If the fabricator does not plan for it at layout, there may not be enough matching material left over. Tell them what you want before templating, not after the countertop is cut.
Tile is more forgiving. If you plan to tile up to the cabinets, the countertop can carry a short splash or none at all, and the tile does the rest. Either way, the answer needs to be made early.
Full Height Slab Splashes
A full height splash in engineered stone or granite gives a continuous look with few or no grout lines. It also brings some demands:
- The slab is heavy.
- Outlet and switch cutouts must be precise.
- A seam may be needed on longer runs.
- The wall has to be flat so the slab sits tight.
Integral Coved Splashes
Solid surface material, such as Corian or Avonite, can be fabricated with a coved backsplash that curves up from the counter with no joint. It is very easy to clean. It scratches more easily than stone, but scratches can usually be sanded out and repaired.
Choose the Countertop First
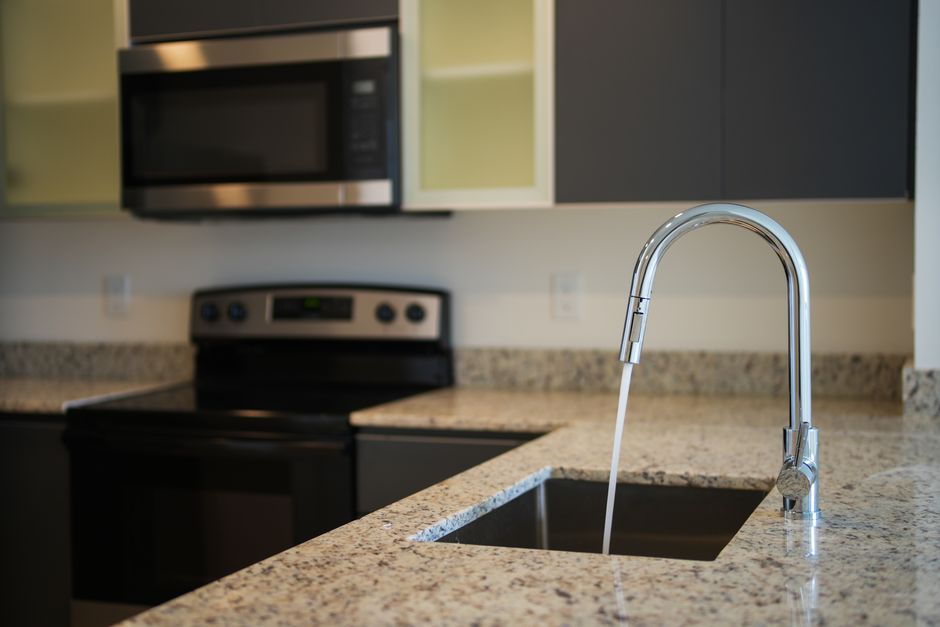
Pick the countertop first and treat the backsplash as the supporting piece. Natural stone varies from sample to sample, so look at your actual slab, or a large remnant from the same lot, before you commit to a tile color.
Then bring tile samples home and hold them upright against the countertop sample in your own kitchen. Check them in daylight and again under your evening lighting. A color that looks right flat on a counter can read very differently on a vertical wall, and warm or cool bulbs shift both surfaces.
Let One Surface Carry the Pattern
A heavily veined or speckled countertop usually pairs best with a calm, solid backsplash. A plain countertop can handle a bolder tile. Two busy surfaces side by side tend to compete.
Match Grout to the Counter
Grout close to the counter's background color makes the backsplash read as one surface. High contrast grout highlights every tile and every uneven joint, which is a risk if the wall is not perfectly flat. Choose grout for cleanability as well as color: epoxy and other stain resistant grouts hold up better in kitchens than standard cement grout, which stains from cooking splatter unless it is sealed and resealed.
Match the Material to the Spot
Not every backsplash material belongs in every location.
Behind the Range
Think about heat. Solid surface and laminate can scorch or discolor under high heat. Tile, natural stone, or stainless steel are safer behind a range. Follow the range and hood manufacturer's clearance instructions.
Natural Stone Tile
Marble, limestone, and travertine are porous and etch from acids such as citrus, vinegar, and tomato. Seal them at installation and reseal on the schedule the sealer label gives. Sealing slows staining but does not make stone immune, so be careful with these materials right behind the sink or coffee station.
Glass Tile
Glass is partly see-through, so the adhesive behind it shows. Use the white setting material the tile maker recommends and spread it evenly, with no trowel ridges visible. Near the sink, expect mineral spotting if your water is hard.
Wood and Butcher Block
Butcher block or another wood backsplash will expand and shrink with Iowa's humid summers and very dry heated winters. Seal every side, including the back, leave expansion room at the ends, and keep wood away from the area directly behind the sink and range.
Check the Wall Before You Buy Tile
The wall behind the backsplash decides what is realistic.
Older Plaster Walls
Many older Cedar Rapids homes, such as early 1900s houses in Wellington Heights and around Czech Village, have plaster walls that are out of plumb and wavy. Hold a long straightedge against the wall before choosing large format tile or a slab splash, because those show every dip. Small tile, or flattening the wall first, may be the better path.
Flood-Affected Areas
If your home sits in an area near the Cedar River that took on water in past floods, look inside the wall cavity while the old backsplash and cabinets are off. Check for water staining, mold, or soft drywall, and fix any of it before covering the wall with tile or stone.
Handle the Details Where Surfaces Meet
Small joints and edges cause most of the disappointment after a backsplash is done.
- The counter joint: Use a flexible sealant where the backsplash meets the countertop, not grout. The counter and wall move slightly with temperature and humidity, and grout at that inside corner almost always cracks and lets water in.
- Outlets and switches: A thicker backsplash pushes the wall surface out past existing boxes. Have an electrician add box extenders so devices sit flush and secure. Longer screws that float a device out from the box are not a fix.
- Where it stops: Plan the end points before you buy. Exposed side edges need a finished end, such as bullnose tile, a metal edge trim, or a polished stone edge. Common stopping points are the end of the countertop or the outside edge of the upper cabinets.
Engineered Stone and Silica Dust
Engineered stone, including quartz brands such as Cambria, contains a high level of crystalline silica (silicon dioxide). Cutting or grinding it dry releases fine dust that can cause silicosis. Cutouts and edge work belong with the fabricator, who can use wet cutting and dust control. Do not dry cut leftover pieces yourself, and do not assume a simple dust mask makes it safe.
Plan for Installation Day
The installation itself deserves a little planning.
Lighting and Lippage
Under-cabinet lighting shines across tile at a low angle and exaggerates lippage, where one tile edge sits higher than its neighbor. Ask the installer to use a tile leveling system and to check for lippage with the lights on.
Protect the New Counters
Cover the countertop with cardboard or a heavy drop cloth. Installers should not cut tile or set tools directly on stone or solid surface, which can chip or scratch.
Cedar Rapids Winter Timing
Tile adhesive, grout, and sealants need a warm room while they cure. If tile and setting materials have been stored in a cold garage, bring them indoors a day or more ahead so they reach room temperature.
Order Extra
Buy enough tile to cover cuts plus a few spares, and keep a box after the job. Color varies between production lots, and matching a cracked tile later can be difficult.
Ask About Leftovers
Slab offcuts from your countertop can sometimes be used for window sills or a small splash on a kitchen island. Ask the fabricator to save usable remnants before they are discarded.
Butcher Block Countertop Care in Cedar Rapids: Dry Winters, Humid Summers
A butcher block countertop in Cedar Rapids stays in good shape when you control two things: how much the wood's moisture swings between January and July, and how evenly every surface of the slab is sealed. Oil on the show face helps, but the seasonal swing is what cracks, cups, and stains a wood top. Everything below follows from that.
Why Cedar Rapids Is Hard on Wood
Wood takes on and gives up moisture with the air around it. It moves mostly across its width, not its length, so on a standard depth counter the front-to-back dimension is the one that grows in summer and shrinks in winter.
Cedar Rapids gives a wood top a real workout. Winters are cold, and forced air heat dries indoor air sharply from roughly November through March. Summers turn humid. The size of that swing, more than either extreme alone, is the main stress on butcher block.
Older homes in established neighborhoods such as Wellington Heights or around Czech Village tend to be draftier, with more air leakage, so indoor air gets especially dry in deep winter. Wood tops in those houses usually need closer humidity attention and more frequent oiling.
Measure the Air, Then Narrow the Swing
A simple hygrometer on the kitchen wall tells you what the wood is living in. If winter readings stay very low, a furnace-mounted or room humidifier narrows the swing. In summer, central air or a dehumidifier does the same from the other side.
Be realistic about what this does. A humidifier or dehumidifier reduces wood movement; it does not stop it. The goal is a gentler change from season to season, not a frozen slab.
How the Top Should Be Fastened
Many seasonal problems trace back to installation, and they are worth checking even on a top that has been in for years.
- Let it slide. The top should be held with slotted or elongated screw holes, or figure 8 fasteners, through the cabinet rails. The front edge is fixed firmly and the back edge floats toward the wall.
- Never lock it down. Gluing a butcher block top down, or screwing it rigidly through round holes all around, does not keep it from moving. It just forces the wood to split or bow instead.
- Leave a gap. A small expansion gap belongs at walls and at the end of any tall cabinet or appliance. The backsplash hides it, and the backsplash should be attached to the wall, not to the top.
- Skip rigid caulk. Hard caulk between wood and wall tends to tear or push as the top moves.
A new slab should also acclimate before it is installed. Stored flat, unwrapped, and up off the floor on spacers in the room where it will live, it needs several days to a couple of weeks. A slab fastened straight from a cold garage or delivery truck will move after it is in place.
Finish Every Face, Not Just the Top
A top oiled only on its show face takes on and loses moisture unevenly, and that causes cupping. Underside, end grain, and the edges of every sink and cooktop cutout all need the same finish as the top. Raw end grain wicks water faster than any other surface, so it deserves extra attention.
Penetrating oil or film finish
You have two basic choices:
- Penetrating oil: food-grade mineral oil or an oil and wax blend. This suits a top you will cut on directly.
- Film finish: a varnish-type coating. It resists water better, but it should never be cut on. Knife marks break the film and let water in underneath.
Many installers prefer a film finish around sink runs, where water exposure is highest.
An Oiling Routine That Follows the Seasons
Oil a new oiled top about weekly for the first several weeks, then roughly monthly. Expect to oil more often during the heating season, when the wood dries fastest.
The water test
Rather than following the calendar blindly, sprinkle a few drops of water on the surface. If they bead, the finish is holding. If they soak in and darken the wood within a minute or so, it is time to oil again.
What to use
Use mineral oil or a blend made for cutting boards and counters. Olive, vegetable, and other cooking oils can go rancid and leave a sticky, smelly surface. A beeswax and mineral oil blend applied over a well-oiled top adds water repellency, which helps near the sink and prep zones.
No oiling makes butcher block waterproof, and one application does not last for years. Treat it as a recurring habit.
Winter Care: Dryness and Hairline Checks
Hairline checks in winter, most often at the ends, are a normal dryness signal. They are not a sign the countertop is ruined. Respond by oiling and raising indoor humidity. Many small checks close partly when summer humidity returns.
Avoid filling them with rigid filler in midwinter. The wood swells again in summer, and the filler can be squeezed out or crack again.
Check heat sources too. Wood near the range, over a toe-kick heat register, or in direct sun from a south or west window dries faster than the rest of the top. Look at those spots first, and redirect any register that blows straight up at an overhang.
Summer Care: Water, Swelling, and Trapped Moisture
Humid months make wet habits more costly, because the wood is already holding more moisture.
- Wipe up standing water promptly, especially around sinks, faucets, and seams.
- Do not leave wet sponges, dish racks, or drying mats sitting on wood. Trapped moisture causes dark stains and local swelling.
- Use trivets for hot pots. Wood can scorch, and concentrated heat dries a spot fast enough to start local cracks. Butcher block does not handle direct heat the way stone or engineered stone does.
Sinks and dishwashers
Butcher block can be used near a sink or dishwasher, but those zones need attention. An undermount sink is high maintenance in wood because the cut edge is end grain that stays wet. Keep that edge sealed and inspect it often.
Over the dishwasher, each cycle vents steam upward into the underside of the top. Make sure that underside is sealed, add a moisture barrier if the installer did not, and avoid cracking the door open under the counter edge while it is still steaming.
Reading Problems Correctly
Cupping or bowing
Cupping signals uneven moisture. Look for an unsealed underside, a slow leak under the sink, a dishwasher venting into the top, or a habit of leaving wet items in one place. Fix the moisture source before trying to flatten or refinish.
Dark gray or black stains
These often come from water or iron reacting with tannins in the wood, especially oak. Cast iron pans, steel cans, and wet steel wool leave rings. Light stains can be sanded out. Deeper ones may respond to an oxalic acid wood bleach, followed by re-oiling.
Cleaning and Renewing
Clean with warm water and mild dish soap, then wipe dry. Soaking, harsh abrasives, and undiluted bleach all strip the finish or raise the grain. Routine cleaning is not optional just because the material is wood.
When the surface looks worn, renew it rather than replace it:
- Oiled tops: sand light scratches and knife marks with fine grit along the grain, then re-oil. For deeper damage, start coarser and work up.
- Film-finished tops: scuff sand and recoat with a compatible finish.
A Spring and Fall Check
Twice a year, when the house switches between furnace and air conditioning, take a few minutes to look things over:
- Inspect the expansion gaps and the backsplash line.
- Check that fasteners have not bound up.
- Look at cutout edges and the finish near the sink.
- Oil any dry-looking areas.
That short routine, paired with steady indoor humidity and an evenly sealed slab, lets a butcher block top move with Cedar Rapids seasons instead of fighting them.